How do you add live chat to your website? In five steps: you set the goal, choose who answers the chats, add the chat script to your website, set up the chat and measure what it delivers after go-live. Adding the script is usually the smallest piece of work. Most of the time goes into the answers, the invitations and the connections to your systems.
Below you will read what you arrange at each step, and where it often goes wrong in practice.
Adding live chat to your website in five steps
A live chat implementation consists of five steps, best followed in this order.
- Set your goal and the pages. What should the chat deliver, and on which pages do you start?
- Choose software and who answers. Yourself, with AI or with an external team.
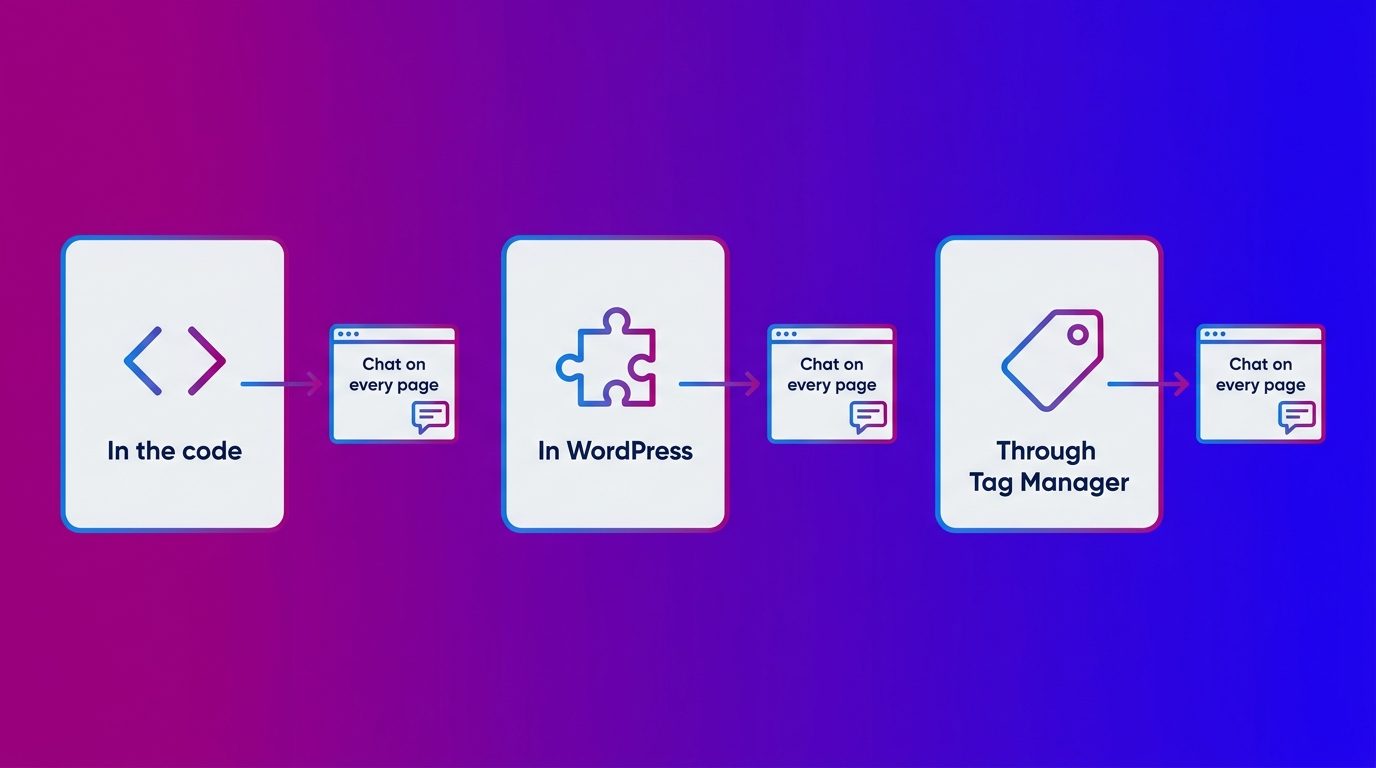
- Add the chat to your website. Through the code, in WordPress or with Google Tag Manager.
- Set up the chat. Knowledge base, invitations per page, lead questions and integrations.
- Test, go live and measure. Check that conversations and leads arrive properly, and adjust.
Step 1: set your goal and the pages
Start with the question of what the chat should deliver: more enquiries, fewer phone calls or both. That goal determines who answers, which questions the chat asks and what you measure later. If it is mainly about service, the chat belongs to your customer service through chat and WhatsApp and the emphasis is on fast answers.
Then choose the pages where the chat goes first. Start where most buying questions arise, such as a car dealer’s model pages or a kitchen showroom’s design and pricing pages.
Also decide when the chat is staffed. Only during office hours, or also in the evening and at the weekend, when many people do their research? That choice partly determines which route you take in step 2.
Step 2: choose software and who answers
The most important choice when implementing is not which software you take, but who answers the chats. There are three routes:
- Do it yourself. Your team answers the chat with its own software, usually during office hours.
- AI. AI-supported chat solutions answer standard questions, day and night, and hand over to a person when needed.
- Have it staffed. An external partner provides software, AI and chat specialists in one.
If you choose software yourself, first look at which features you need in live chat software, such as one inbox for all channels and integrations with your CRM. How to compare providers side by side is covered in the article on the best live chat software.
Each route has a different pricing model. With software you pay a licence and your own team’s hours; with a staffed chat, the number of conversations and the channels, among other things, determine the price. Look at the costs of the chat before you choose. If you are unsure whether chat suits your business at all, read when live chat is right for your organisation.
Step 3: add the chat to your website
The chat gets onto your website through a small piece of code from your chat provider: the chat script. You add it once, after which the chat can appear on every page. There are three ways:
- In your website’s code. You paste the script into the head of your template, or just before the end of the body. That works on any system, but you need access to the code.
- In WordPress. Many providers have their own plugin. Without a plugin, you add the script with a code snippets plugin or in your theme, so it loads on every page.
- Through Google Tag Manager. If Tag Manager is already on your site, you create a new tag of the Custom HTML type and paste the script into it. Google explains how to add a custom HTML tag. Set the tag to fire on all pages and publish the container.
Also think about your cookie banner. A chat script can set cookies or read information from the visitor’s device. Under the UK’s PECR rules, as the ICO explains, strictly necessary cookies may be used without consent, but analytics and tracking cookies and scripts that access information on the device require consent first. Ask your chat provider which cookies the chat uses and include them in your cookie policy.
Step 4: set up the chat
A chat that works technically is not finished yet. The setup determines what the chat delivers, and takes more time than adding it.
- Knowledge base. Collect the information needed to answer questions: your range, prices, lead times, opening hours and procedures. Turn that into answers and scripts.
- Invitations per page. Set when the chat shows an invitation itself, for example when someone stays on a pricing page for a long time. An invitation that fits the page works better than a generic question.
- Lead questions. Agree with your sales team which details make a lead complete, such as name, email address, phone number and the product someone is interested in.
- Make AI recognisable. If AI answers some of the questions, show clearly that the visitor is talking to AI.
Conversations and leads then need to land somewhere: in your CRM, your inbox or your helpdesk. One part that often gets attention too late is connecting live chat to your helpdesk or CRM, so every lead arrives with the conversation attached.
Do you also want WhatsApp messages in the same inbox? Read how to combine WhatsApp on your website with live chat.
Step 5: test, go live and measure
Test the chat before you switch it on widely. Hold a few test conversations on different pages and devices, and check that the invitations appear at the right moment. Also check that a test lead arrives with the whole conversation where it should.
Then go live on the pages from step 1 and keep an eye on it for the first weeks. Track how many visitors start a conversation, how many conversations become a lead and which questions keep coming back. Which figures help with that is covered in the article on live chat metrics.
Based on those figures, adjust the invitations, the answers and the pages. If it works on the first pages, add the chat to the rest of your site.
How an implementation works at Bconnect
At Bconnect we set up the chat together with the client, with a fixed point of contact from the first meeting until after go-live. The technical side is arranged fastest: the chat script goes into the head of the website or through Google Tag Manager.
Most of the time goes into the knowledge base. We gather the product and process information from the client and turn it into answers, scripts and qualification questions. Then we set up the channels and integrations. Leads go to the client’s CRM through API, webhooks or Zapier; see our integrations. If there is no integration, they arrive by email or in the support system.
An AI-only setup is usually live within a few weeks. With chat specialists added, it takes a week to a month, depending on the knowledge base and the integrations. If you do not want to arrange the technology, the setup and the staffing yourself, a ready-made chat function is the fastest route.
Common mistakes when implementing
When implementing live chat, things usually go wrong in the setup, not the technology. These are the four mistakes we see most often.
- The chat is on, but nobody answers. A chat button with no answer backfires. Outside staffed hours, show when the chat will be available again, or let AI pick up the first questions.
- No knowledge base. Without the answers, staff constantly have to refer people on or call back.
- Invitations everywhere at once. A pop-up on every page within a few seconds is irritating. Start on a few pages with an invitation that fits.
- Leads do not arrive anywhere. Without an integration or an agreement on follow-up, an enquiry from the chat is left waiting.
Implementing is mainly setting up
Adding live chat to your website is technically simple: one script on your website, through the code, WordPress or Tag Manager. What the chat delivers depends on the steps around it: a clear goal, someone who answers quickly, a full knowledge base and integrations that get leads to the right place. If you do not want to staff the chat yourself, you can choose managed live chat.
Frequently asked questions about adding live chat to your website
How long does it take to implement live chat?
Adding the chat script is usually quick. Setting up the knowledge base, the invitations and the integrations takes longer, from a few days to a few weeks, depending on how much information and which systems are involved.
How do I add live chat to my WordPress website?
Install your chat provider’s plugin, or add the chat script with a code snippets plugin so it loads on every page. Then check that the chat appears on all pages and clear your cache if you see an old version.
Can I add live chat through Google Tag Manager?
Yes. Create a new tag of the Custom HTML type, paste the chat script into it and set the tag to fire on all pages. Then publish the container and test whether the chat appears.
Do I need consent for live chat cookies?
That depends on the cookies the chat sets. Strictly necessary cookies can be used without consent. Analytics and tracking cookies and scripts that access information on the visitor’s device require consent first. Ask your chat provider which cookies the chat uses.
Do I need technical knowledge to install live chat?
Usually not. Anyone with access to WordPress or Google Tag Manager can add the script themselves. Setting up answers, invitations and integrations mainly requires knowledge of your offering and your sales process.
How do I connect live chat to my CRM or helpdesk?
Through a standard integration in your chat software, through an API or webhook, or with a tool such as Zapier. Without an integration, you can have leads arrive by email, with the conversation attached.
Can I add WhatsApp to the chat on my website?
Yes, a lot of chat software brings WhatsApp and website chat together in one inbox. Note WhatsApp’s rules: after the customer’s last message you can reply freely for 24 hours, after that only with approved templates.